Você já parou para pensar se a sua manicure atual realmente reflete a sua personalidade vibrante? Muitas vezes, buscamos uma mudança no visual, mas ficamos presas aos mesmos tons básicos do dia a dia. Explorar novas tendências é o caminho ideal para elevar a sua autoestima e garantir um estilo único. A escolha certa pode […]
Continue lendo Você já se perguntou se é possível exibir mãos impecáveis sem abrir mão da naturalidade e do conforto no seu dia a dia? Muitas pessoas acreditam que ter um visual sofisticado exige sacrifícios, mas a verdade é que o segredo está na escolha técnica correta. Este guia foi criado para ajudar você a navegar pelo […]
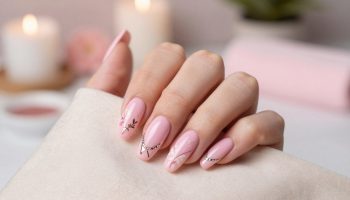
Continue lendo Você já parou para pensar se a simplicidade pode ser o segredo definitivo para uma aparência sofisticada? Muitas vezes, buscamos designs complexos, esquecendo que a beleza reside na sutileza de tons suaves. Explorar ideias de unhas rosa claro permite que você eleve seu visual diário com um toque de elegância atemporal. Essa tonalidade funciona como […]
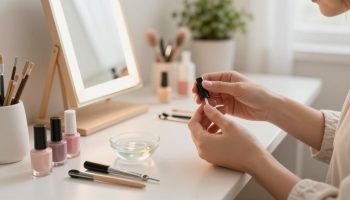
Continue lendo Você já parou para pensar se realmente precisa gastar horas no salão para exibir mãos impecáveis? Muitas pessoas acreditam que um acabamento de qualidade depende exclusivamente de profissionais, mas a verdade é que você pode alcançar resultados surpreendentes com apenas alguns cuidados básicos. Aprender como fazer unha simples em casa é uma habilidade libertadora. Com […]
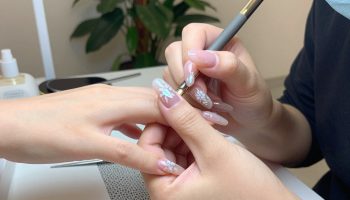
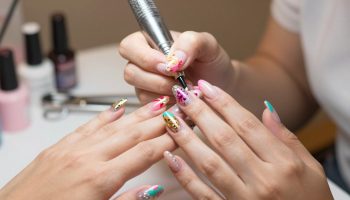
Continue lendo unhas Decoradas em Gel Você já se perguntou como manter suas mãos impecáveis por semanas, mesmo com a rotina agitada do dia a dia? Muitas pessoas buscam o equilíbrio perfeito entre estilo e praticidade, mas nem sempre encontram a solução ideal para um visual duradouro. A técnica de unhas decoradas em gel revolucionou o mercado […]
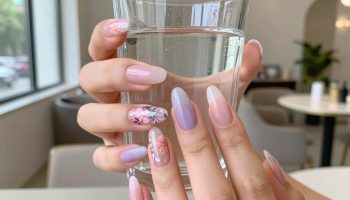
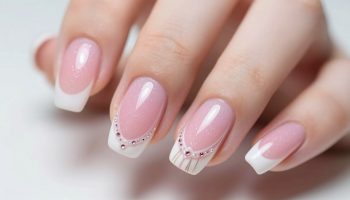
Continue lendo Você já parou para pensar como uma simples mudança de tom pode renovar completamente o seu visual? A escolha das cores certas nas mãos transmite personalidade e muito estilo. Explorar o universo das unhas decoradas rosa com branco permite criar combinações versáteis que transitam entre o delicado e o moderno. Essa paleta atemporal transforma o […]
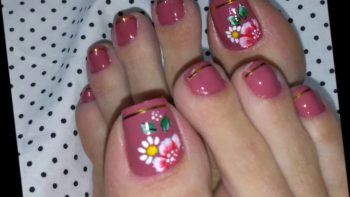
Continue lendo Você já parou para pensar se o cuidado com os seus membros inferiores reflete verdadeiramente a sua personalidade? Muitas vezes, esquecemos que pequenos detalhes são capazes de transformar completamente o nosso visual e elevar a autoestima de forma surpreendente. Apostar em unhas decoradas pé é uma maneira fantástica de expressar criatividade e estilo em qualquer […]
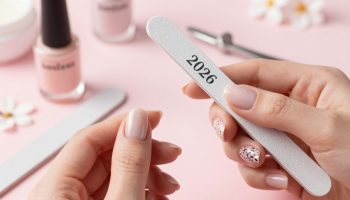
Continue lendo Você já parou para pensar se o seu estilo atual de manicure ainda será o centro das atenções no próximo ano? A moda muda rápido, e estar à frente das tendências é o segredo para manter um visual impecável. Neste artigo, compartilho minhas recomendações exclusivas sobre a decoração para unhas de gel 2026. Vou explorar […]
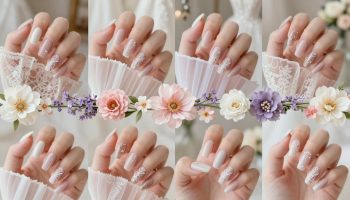
Continue lendo Você já parou para pensar se os pequenos detalhes do seu grande dia realmente refletem quem você é? Muitas vezes, focamos tanto no vestido e na decoração que esquecemos de como nossas mãos podem contar uma história única durante a troca de alianças. Neste artigo, compartilho minha experiência pessoal selecionando os estilos mais encantadores para […]
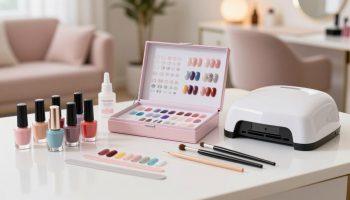
Continue lendo Você já se perguntou se é possível conquistar um acabamento impecável sem precisar agendar um horário no salão? Muitas pessoas acreditam que a qualidade profissional exige equipamentos caros e anos de prática constante. Eu decidi colocar essa ideia à prova. Testei diversas opções disponíveis no mercado para descobrir o que realmente funciona. O meu objetivo […]
Continue lendo